September 20, 2026
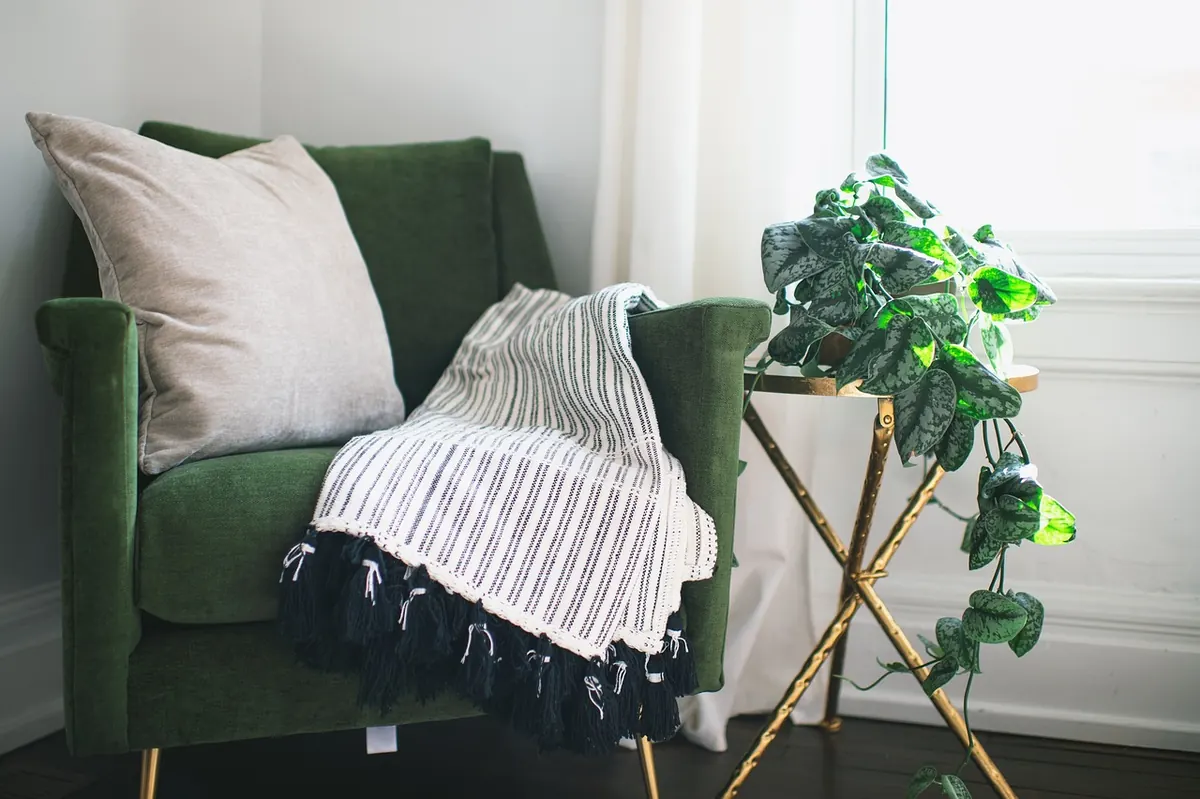
A reading nook doesn't ask for much: a comfortable chair, decent light, and somewhere within reach for the book you're halfway through. A floating shelf solves that last part beautifully, particularly in a small corner where a side table would be forever in the way and a full bookcase would swallow the space. There's no visible bracket, no legs to stub your toe on, and it takes an afternoon rather than a weekend. Here's how to plan, build and style one properly.
Work Out Size and Position Before You Buy Anything
The books decide the depth. A standard paperback stands about 20cm tall; a hardback is nearer 24cm. A shelf 180–230mm deep lets you stand books upright without them tipping forward, and leaves room for a small lamp or a mug. Anything shallower than 150mm is really only good for paperbacks laid flat.
Height matters more than people expect. If you're sitting in a low armchair, your eye level is roughly a metre from the floor. Fix the underside of the shelf around 1.25–1.35m up, so you can reach a book without standing and won't knock your head when you lean back. Mark that height lightly in pencil – you can always move it before drilling.
Length comes down to span. In 18mm pine, keep the distance between fixings under about 900mm. Over that, and a shelf loaded with hardbacks will bow over time. If your wall is longer, use two shorter shelves rather than one long one.
What to Buy: UK Timber Sizes, Translated
Timber yards and DIY shops sell planed boards by their finished size, so a length marked 18 x 144mm measures exactly that once it's been through the planer. The old imperial names still cling on in conversation: a "4x1" is now roughly 95 x 20mm, a "2x1" nearer 45 x 20mm. For a shelf, look for 18–25mm thickness and 150–200mm width. Pine is cheap and takes paint and wax well; tulipwood is smoother to work; oak costs more but looks the part with a clear oil finish. Ask at the counter about cutting to length – many shops will do it while you wait, which saves you a saw and a straight line.
Your shopping list:
- One planed board, 18–25mm thick, cut to your shelf length
- Two concealed floating shelf rods (metal fixings with a wall plate and a steel pin)
- 120 and 240 grit sandpaper, or a sanding block
- Fine-tooth saw if you're cutting at home, plus a mitre box or square
- Drill, drill bits, spirit level, pencil, tape measure
- Wall fixings suited to your wall – masonry plugs or hollow-wall anchors
- Hard-wax oil, clear varnish or paint
Building and Fitting It, Step by Step
- Cut the board. Measure twice and support both ends as you saw so the timber doesn't splinter. Wrap a strip of masking tape along the cut line to protect the surface.
- Sand the edges. Work through 120 grit, then 240. Break the sharp arrises with a couple of passes so the front edge feels soft under your hand.
- Drill for the rods. Clamp the shelf and drill the two holes into the back edge, matching the rod diameter and depth exactly. Test-fit the rods before you go anywhere near the wall – a millimetre out here is the mistake that ruins the job.
- Mark the wall. Use the wall plate as a template, hold it level, and mark through the holes. Run a detector over the area first to check for cables, pipes and studs.
- Fix the plates. Drill, plug and screw them firmly. This is the part that carries the weight, so don't rush it.
- Slide on the shelf and check it's level both ways with a spirit level – along the front edge and front to back.
- Finish before you fill. Brush on two thin coats of hard-wax oil or varnish, letting each dry properly. It's far easier now than with books in the way.
A cheaper alternative for a chunky shelf: fix a 45 x 45mm batten to the wall, then build a hollow box shelf that slides over it. Nothing shows, and the materials cost less than a set of rods.
Fixing Into Your Wall: The Bit That Actually Matters
Solid brick or block takes ordinary plugs and screws and will hold a shelf of books without complaint. Plasterboard is another matter. A dot-and-dab wall or a stud partition will hold a light shelf with decent hollow-wall anchors, but books are heavier than they look, so aim to land at least one fixing in a timber stud if you can find one. Old lath-and-plaster walls need a gentle hand: drill slowly and let the bit do the work rather than pushing through and cracking the plaster.
Keep fixings away from sockets, light switches and the space directly above radiators, where pipework tends to run. If you rent, check your tenancy agreement before drilling – many require permission for wall fixings – and if you're unsure what's behind the plaster, a carpenter or handyperson will sort it quickly for a reasonable cost.
Styling It So It Looks Deliberate
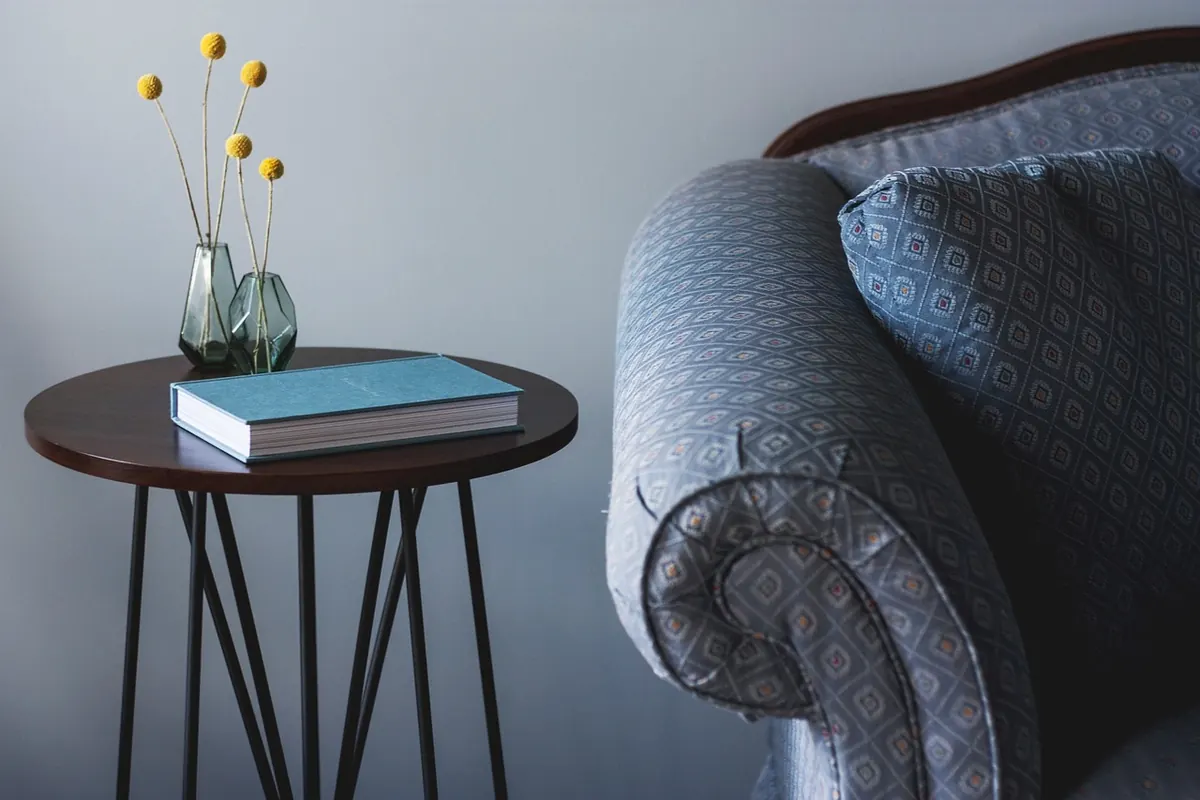
An empty shelf looks apologetic; an overfilled one looks like storage. Aim for roughly two-thirds full, and mix the way things stand. A short row of upright paperbacks at one end, a stack of three laid flat at the other, with a small vase or a framed print leaning against the wall on top of the stack, is a formula that works in almost any room. Odd numbers of objects read better than pairs.
Repeat one colour from elsewhere in the room – a shade on a book spine, a ceramic – and keep the rest neutral. If you need light, a slim rechargeable lamp or a clip-on reading light on the underside of the shelf does more for a nook than any ornament. Rotate what's on display every few months so the shelf stays interesting, and don't stack heavy hardbacks in the middle of a long span, where sagging starts first.
Live With It Before You Add More
Fit the shelf, then leave some of it empty for a week and see how you use it. Most people find they reach for two or three books and ignore the rest, which tells you what actually belongs there. Dust with a dry microfibre cloth rather than a damp one, and after a month, check the fixings with a screwdriver and give them a gentle tighten – shelves settle as the timber dries out. Get that bit right, and the corner will quietly become the best seat in the house.
Photo: stevepb / Pixabay